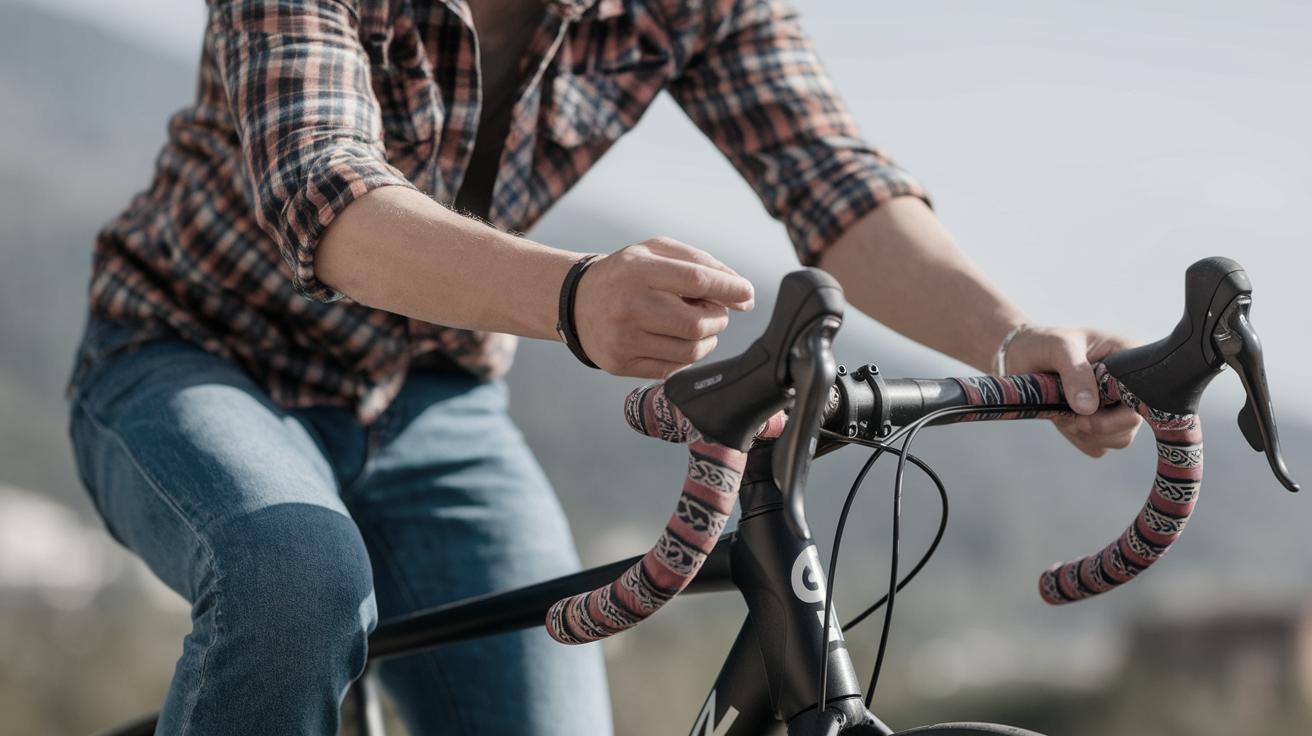
How to Wrap Handlebar Tape
If you’re a cycling enthusiast, you know the importance of every component of your bike, and handlebar tape is no exception. Properly wrapped handlebar tape not only enhances the aesthetics of your bike but improves grip and comfort, affecting your overall ride experience. In this comprehensive guide, we’ll take you through the step-by-step process of replacing your bike’s handlebar tape, from selecting the right tools to ensuring a professional, sleek finish. Additionally, we’ll explore the best types of bar tape, how often you should replace it, and whether you can reuse old tape. Whether you’re a seasoned cyclist or a biking beginner, read on to master this essential skill and keep your ride in top-notch condition.
Tools Needed to Replace Handlebar Tape
Before you begin the process of wrapping your handlebars with new tape, it’s crucial to gather the necessary tools. A good set-up will require handlebar tape, scissors, electrical tape, and bar-end plugs. These are the essential items you’ll need, and having them ready will make the process smoother and more efficient. Additionally, a ruler might be beneficial for measuring uniform lengths, ensuring a consistent and neat wrap.
It’s advisable to choose high-quality handlebar tape that matches your preferences in terms of texture, cushioning, and style. The tape’s material plays a significant role in comfort and durability. For instance, cork tape offers great cushioning, while leather tape provides a classic look. Electrical tape will be used to secure the ends, giving a clean finish. Lastly, don’t overlook the bar-end plugs, which keep the tape secure and add a finishing touch to your handlebars.
1. Remove the Old Bar Tape
The first step in the handlebar wrapping process is to remove the existing bar tape. Begin by peeling off the electrical tape at the ends of your current handlebar tape. This will expose the bar-end plugs, which you can then remove by gently prying them out with your fingers or a small flathead screwdriver. With the plugs off, you can start unrolling the old tape from the handlebars.
As you carefully unwrap the tape, you’ll want to pay attention to any adhesive residue left on the handlebars. It’s important to remove any leftover adhesive to ensure a smooth application of the new tape. A clean, dry cloth and some rubbing alcohol can effectively clean the bar of any sticky residue. Taking the time to do this step properly ensures an even surface for the new tape to adhere to.
2. Add the ‘Cheat Strips’
‘Cheat strips’ are small sections of tape used to cover the clamp area beneath the handlebar hoods. To apply these, cut two short pieces from your new handlebar tape. Peel back the hood rubber, expose the clamp area, and place these pieces diagonally over the metal clamp.
These cheat strips provide an extra layer of protection and cushioning at the clamp area where the full length of the tape might not entirely cover. It also assists in giving a seamless transition from the bar to the hood, which is crucial for comfort during prolonged rides.
3. Begin Wrapping the New Bar Tape
Starting at the bar ends, position the adhesive side of your chosen tape so it faces the handlebar. Begin wrapping the tape around the bar, overlapping each pass by about a third of its width. It’s essential to wrap tightly to prevent slippage but be cautious not to overstretch the tape, as this might lead to premature wear and reduce cushioning.
Ensure the taping pattern follows an outward direction from the bar ends toward the bike’s frame, which helps maintain grip under pressure and prevents the tape from loosening as you ride. This step requires patience and precision to maintain consistent tension and a uniform overlap, resulting in a professional look.
4. Install the Bar-End Plug
After you’ve wrapped the tape at the end, fold the excess tape into the handlebar and insert the bar-end plug. This step secures the tape’s position, which is especially important since this area is often subject to wear and exposure.
The bar-end plugs not only keep the handlebar tape secure but also enhance safety by covering the open ends of the handlebars. Ensure these plugs are properly inserted and secure within the handle to prevent them from coming loose during rides, which can be dangerous.
5. Wrap Around the Hoods
As you approach the brake hood area, it’s crucial to navigate around it correctly. Carefully wrap the tape in a figure-eight style to ensure all sections around the hoods are covered without leaving any gaps. The cheat strips beneath should provide a smooth transition from the bars to the hoods.
This part often demands finesse, as an improperly wrapped hood area can lead to discomfort and a compromised grip. With the aid of the cheat strips, the figure-eight method secures the sections snugly, ensuring both reliability and aesthetic appeal.
6. Wrap the Top of the Bar
Continue wrapping from the hoods up towards the top of the handlebars. Ensure that the overlap remains consistent, as this will maintain the even tension and uniform appearance established earlier. Keep wrapping until you reach the end point of the handlebar near the bike’s stem.
Maintaining proper tension is essential through this section, as loose areas can lead to early wear or unwanted movement of the tape. The result should be a smooth, neat section that enhances comfort and control when riding or gripping this part of the bars.
7. Cut the End of the Bar Tape
Once you’ve wrapped all the way to the cycle’s stem, it’s time to cut the tape. Use scissors to cut the tape at an angle so that it lies flat against the handlebar, ensuring a tidy end to the wrapping.
Cutting the tape at the right angle will provide a cleaner, more professional look. Double-check your cutting point before you make any snips, as a well-measured end ensures minimal finishing tape is needed, maintaining the handlebar’s aesthetic.
8. Secure in Place
After you’ve cut the tape, use electrical tape to firmly secure the end segment of the bar tape. This not only gives a polished appearance but also ensures the tape remains securely in place even during intense rides.
Ensure the electrical tape matches your handlebar tape’s style or provides a subtle accent. Lastly, double-check all wrapped sections for any loose areas needing re-adjustment for a secure finish.
What Bar Tape Should You Buy?
Choosing the right bar tape is crucial, as it greatly affects comfort, control, and aesthetics. The market offers a variety of materials including cork, foam, leather, and synthetic blends, each offering distinct textures and durability levels. Cork tape is popular for its excellent cushioning and shock absorption, making it ideal for long rides.
Leather tape provides a classic look with a durable finish, often favored by riders looking to enhance a vintage bike’s aesthetic. For those who prefer a modern, slip-resistant option, synthetic blends offer a good balance between grip and longevity. Consider the conditions you typically ride in and your personal comfort preferences when making your selection.
How Often Should You Replace Handlebar Tape?
The frequency of replacing handlebar tape largely depends on usage and the conditions you ride in. Regular riders, particularly those cycling in challenging weather conditions, might find themselves replacing tape every six to twelve months. This is due to sweat, sun exposure, and general wear deteriorating the tape’s grip and cushioning over time.
However, casual cyclists may get by with less frequent replacements, perhaps once every couple of years, provided the tape remains in good condition. Regular inspection of the tape for signs of wear like tearing or loss of adhesion will help you gauge when it’s time for a fresh wrap.
Can You Reuse Bar Tape?
Reusing bar tape can be tempting, especially if it’s relatively new, but it’s generally not recommended. Removing and reapplying tape can compromise its adhesive properties, and it might not wrap as cleanly a second time. However, if the tape remains in excellent condition and the adhesive has not been significantly reduced, some experienced cyclists manage reuse with limited success.
It’s important to assess the tape’s condition carefully. If it seems brittle, has lost its sticky side, or appears frayed, it’s best to invest in new tape. Ultimately, it’s up to the individual cyclist to weigh the cost versus the potential impact on comfort and performance.
Next Steps
| Step | Action | Notes |
|---|---|---|
| Gather Tools | Prepare handlebar tape, scissors, electrical tape, and bar-end plugs | Essential for a smooth process |
| Remove Old Tape | Unwrap old tape and clean handlebars | Ensure no adhesive residue is left |
| Add Cheat Strips | Cover clamp area with small tape pieces | Enhances comfort and coverage |
| Wrap New Tape | Begin wrapping from bar ends towards frame | Maintain tension and overlap consistency |
| Bar-End Plug | Secure tape by inserting bar-end plug | Prevent tape unraveling |
| Wrap Hoods | Use figure-eight method around hoods | Ensure no gaps for comfort |
| Finish Top | Wrap to stem and cut tape at an angle | Provides a neat finish |
| Secure Tape | Use electrical tape for final securing | Match or complement handlebar tape |
| Select Tape | Choose based on comfort, material, and aesthetics | Cork, leather, synthetic options available |
| Replacement Frequency | Assess based on use and condition | 6-12 months for regular riders |
| Reusability | Evaluate condition for reuse | Generally not recommended |